
Hello and welcome! We’re glad you want to buy goods, services and cryptocurrency on Mobazha.
You can start by casually browsing what’s available in this decentralized marketplace at mobazha.info. When you’re ready to buy, this handy guide will show you how you can set up an Mobazha profile, step by step. It only takes a few minutes!
If you have any difficulties along the way, please visit our Support page for ways to get in touch with us and let us know. If you want to chat with someone from the Mobazha community for help, or to give feedback on how Mobazha is working for you, join our Slack community.
Step 1 – Download and Install Mobazha
Most users will want to download the package that matches their operating system from our website at mobazha.org/download
If you have some technical expertise and want to manually install Mobazha, read these instructions.
Step 2 – Run Mobazha
The first time you run Mobazha you will be guided through a short onboarding process to setup and personalize your node.
Your Mobazha node is similar to an account or profile on a traditional website but with an important difference: you own it.
With websites, you create your user account on a server that someone else, like Amazon or Ebay, owns entirely. This is kind of like renting an apartment in a building that they own. When you are “leasing” space on a regular website this way, they control how you access it, too. They give you “keys” that you use to access your account–your login and password–and they can also revoke them at any time.
With Mobazha, you create and own your own server–your node!–that participates in the marketplace network, and all data you create lives on your own computer. This is like building your own independent house that has a private entrance only you can find so no login or password are necessary.
Since your node and profile live entirely on your own computer, someone would have to access your computer directly in order to make changes to it or take it down. This is more secure than how websites operate though it requires a little bit more knowledge to manage. For example, if you want to access your profile from another computer, you have to move all of your files to that other computer. To “close” your account, you simply delete your files from your computer following these instructions.
We are working to make this more flexible in the future so that you have the option to set up your profile or store to be accessible from various devices.
Onboarding Setup
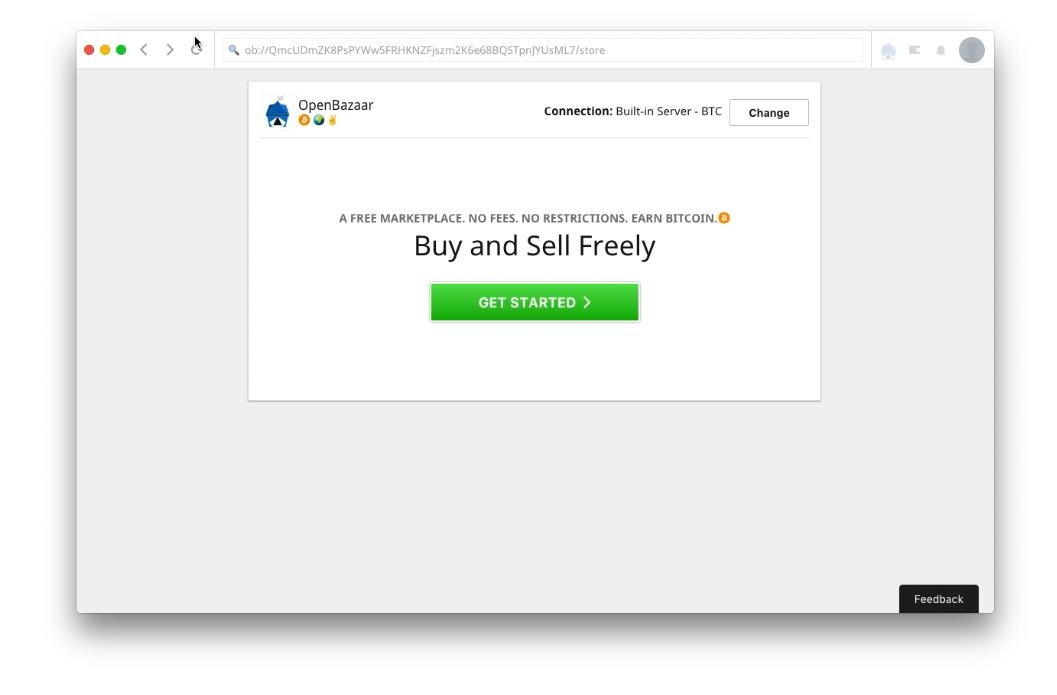
Here you go! Time to Get Started.
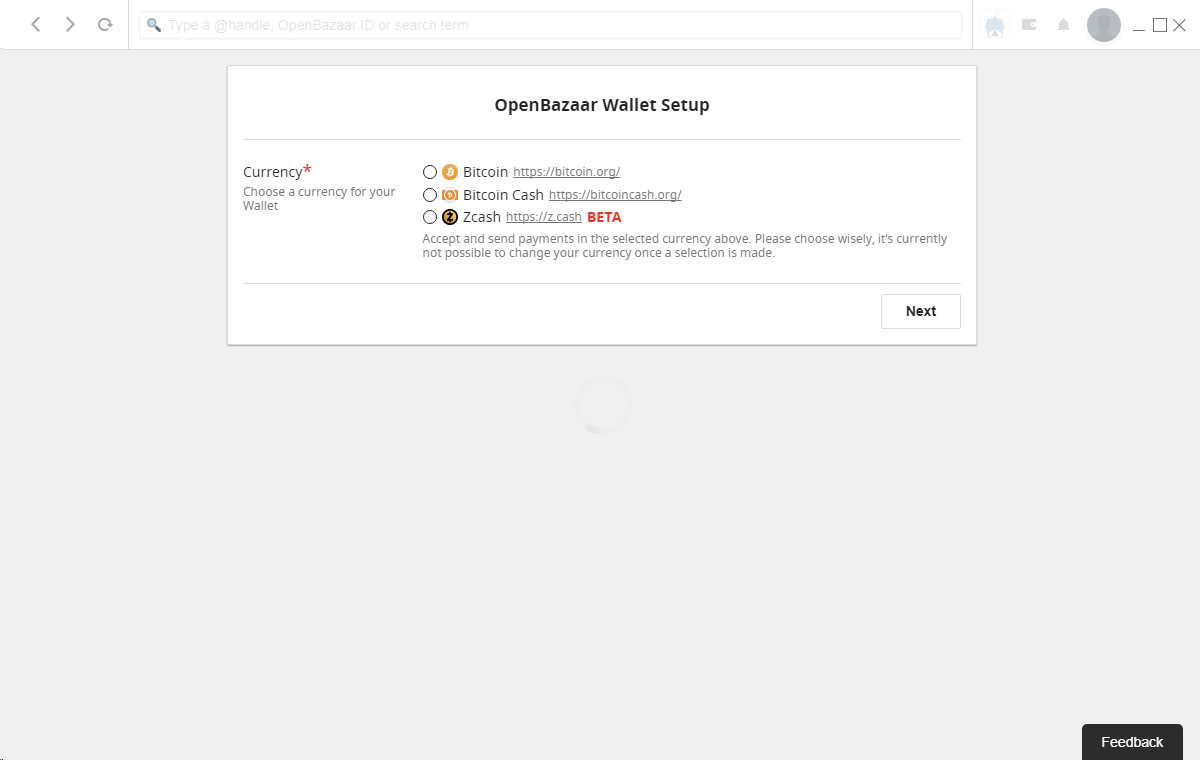
First you will be asked to set up your integrated cryptocurrency wallet. Right now this includes Bitcoin, Bitcoin Cash or Zcash (beta). At this time you can only select one to start but if you would like the option to shop with more of the available currencies you can add additional wallets after this first setup which is described later in this tutorial.
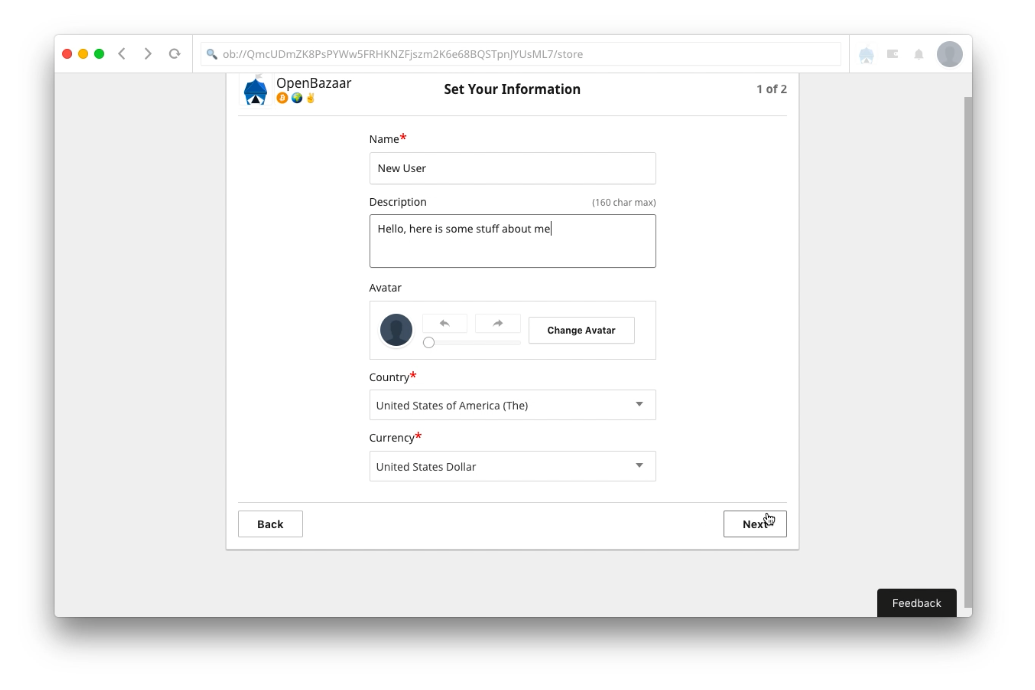
Then you will be asked a few questions such as your name, description of your profile/store, country, and preferred display currency.
You also have the opportunity to upload an avatar for your profile. Click on Select Avatar to choose a file from your computer. Recommendations here are to choose a nice, uncomplicated avatar that scales well into a circle frame as it will appear around the application. Avatars should be a square at least 280px by 280px or larger for best visual appearance.
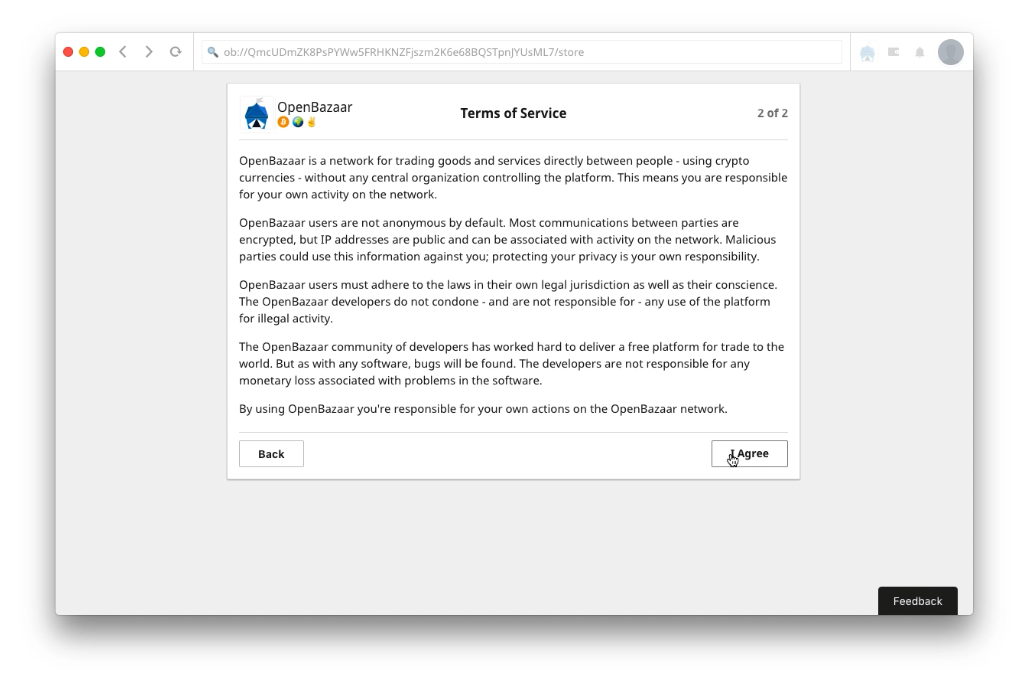
Then there is a disclaimer about using the Mobazha software, which you should read before continuing because Mobazha is an unique and new kind of marketplace.
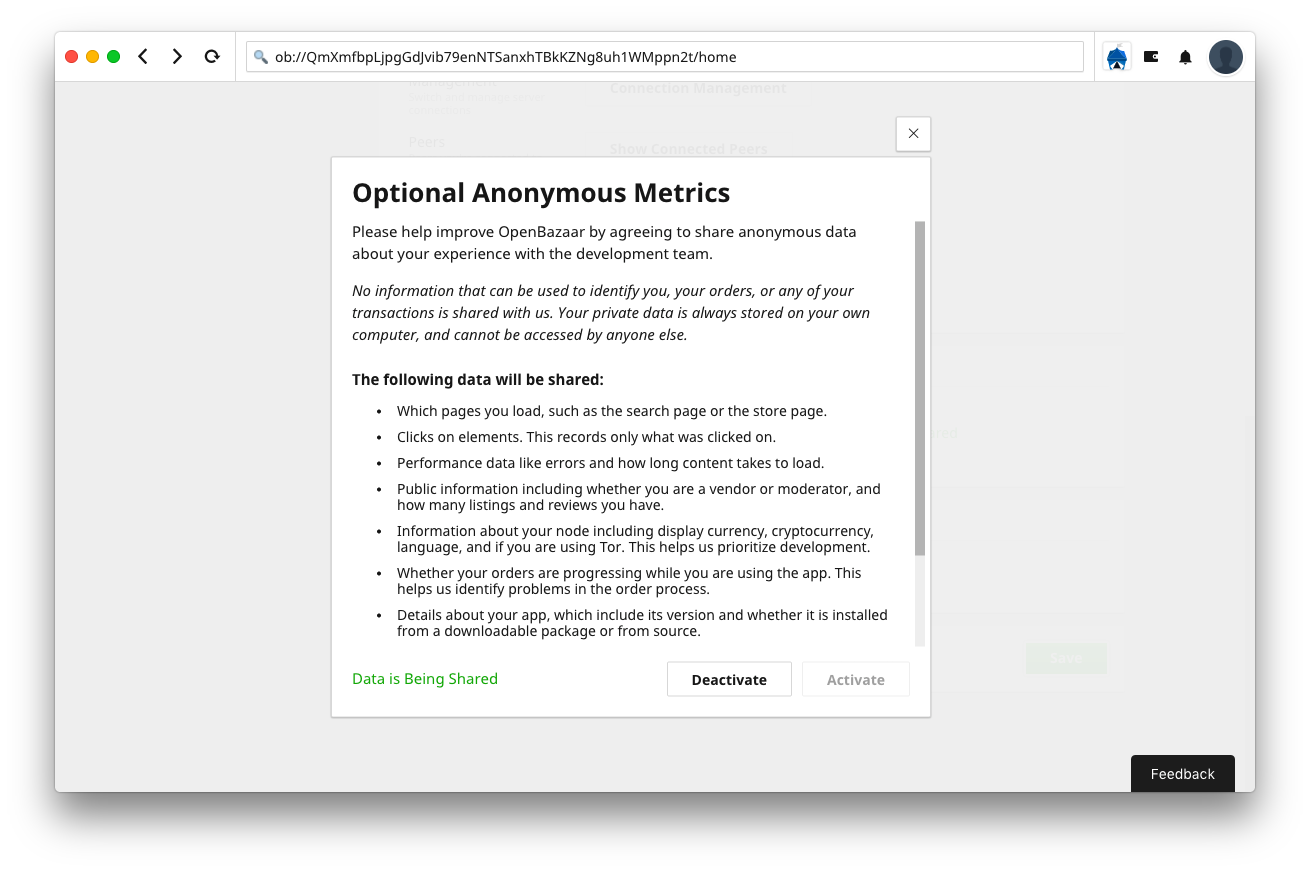
Finally, you will see a screen asking you to opt into optional analytics collection. This is your choice and even if you change your mind you can always opt in or out again at any time in your Settings.
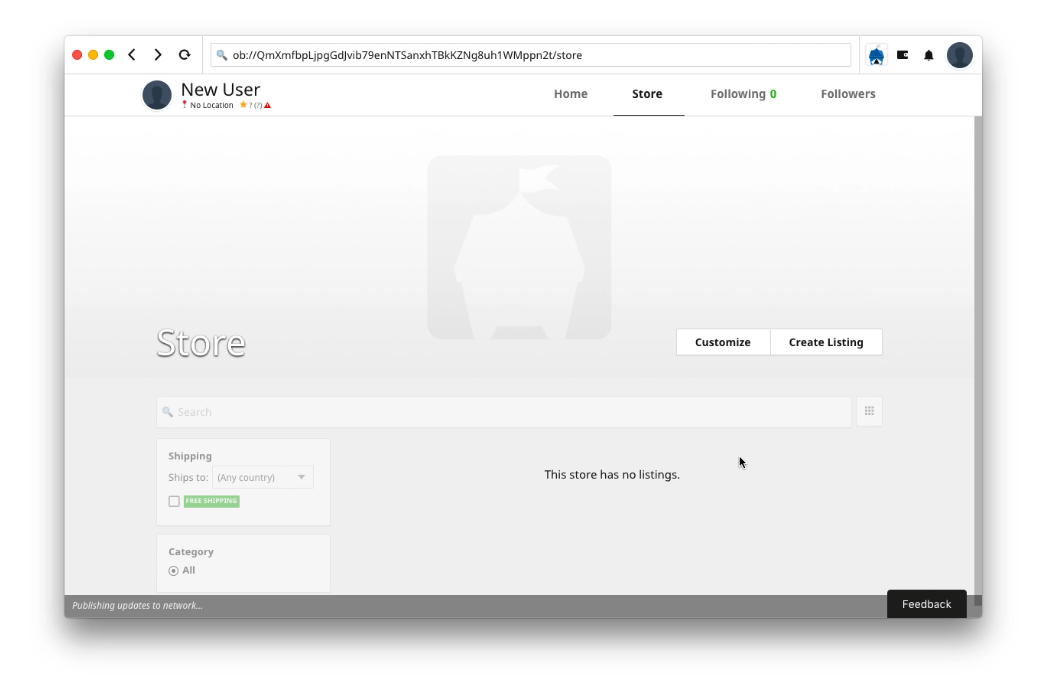
After finishing onboarding, you’ll now see your own Mobazha Store page. Each user has their own profile and store on the Mobazha network by default but if you are just joining as a buyer you don’t need Click on Home in the menu near the top to see your regular profile page and make changes as you’d like.
Step 3 – Search & Buy
To browse items, click the Mobazha tent icon to the right of the address bar at the top of your client window to Discover.
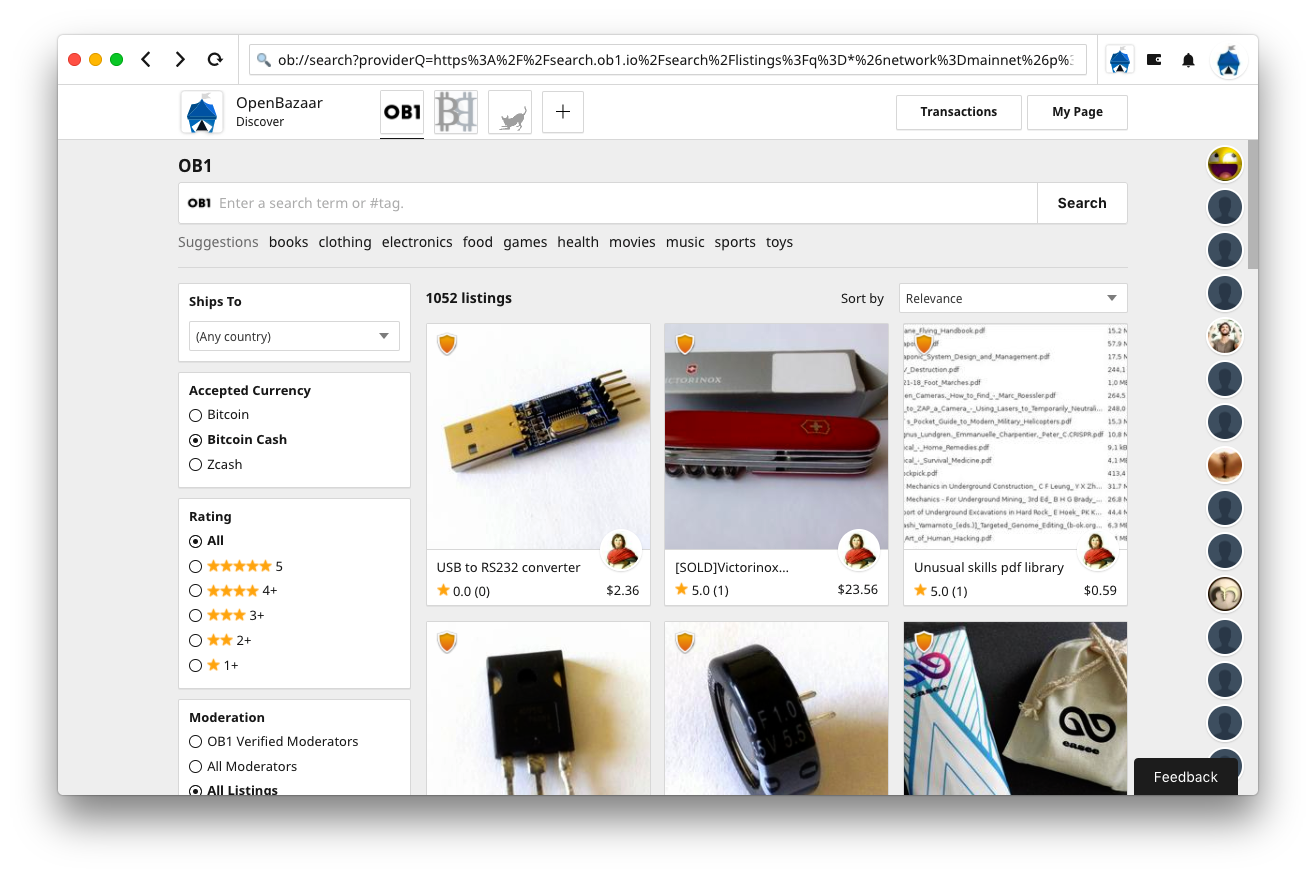
You will see the Discover bar at the top which shows the integrated search engines you can use to browse items. It defaults to OB1, which is underlined. OB1 is the company leading the development of Mobazha and we have built our own search engine to help users navigate the network. We will be walking through this search engine only in this overview. Other search engines built by third parties may also be integrated & some may be available here.
Below that is the search bar where you can search for keywords and terms you may want to see like shirt or art. This search pulls from the keyword tags that sellers add to their listings and not the titles, descriptions or store names at this time. For best results sellers are encouraged to add all the relevant tags they can think of to help buyers find their items.
You can also choose from the Suggestions just below the search bar to browse.
Below the search bar on the left side are different criteria you can use to help search & sort listings to your preferences. By default the Accepted Currency will match the currency you selected for your wallet on setup so it’s easier to see items available that you can pay for using your Mobazha wallet. You are able to change this setting to browse other items available but you will not be able to pay for them unless you set up an additional wallet supporting that currency.
Make a purchase
When you find something you’d like to purchase, click BUY NOW.
The order process is a 4 (sometimes 5) step process that begins when you click BUY NOW.
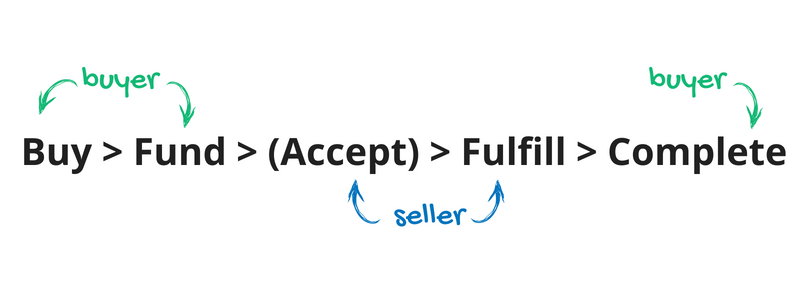
This initiates the purchase channel that you then can choose to Fund by sending your coins. If you simply click Buy and do not Fund a purchase, no coins are transferred and it functionally becomes a cancelled order.
The next phases of the purchase may include Accepted then will always have Fulfilled and Complete. The Accepted action must be completed by the seller to open the payment connection if required.
When the seller sends your order they will then set the status to Fulfilled. Then you must Complete the order and leave a review when your purchase has been completed.
Payment Types in Mobazha
There are three types of payments in Mobazha:
- Direct payments - Coins are sent directly from the buyer to the seller.
- Moderated payments - Coins are sent to a 2-of-3 multisignature account that works like escrow. A third party moderator, who is another regular user type within Mobazha, is added to this kind of transaction to help in case of a dispute.
- Offline payments - when a seller is offline, coins are sent to a 1-of-2 multisig address that they can accept when they return.
Read more about how the different payment types work here.
Wallets
You can use an external cryptocurrency wallet to pay for listings or use the integrated wallet by sending funds to it first. Click Receive Money and either send coins from a mobile wallet using the QR code or copy and paste the text address below into your your desktop wallet.
Setting Up Additional Coin Type Wallets
Did you find something that you would like to buy but that requires a different type of cryptocurrency wallet than your node has? At this time additional wallets can be added by creating additional nodes you can easily toggle between on your computer.
Simply hover over your avatar in the top right corner and then your store name. Click the option New Server. This will take you to a module where you can select the new type of node you’d like to set up.
After setup, you can then quickly toggle between your nodes by doing basically this same thing again: hovering over your avatar, then your store name, then selecting your additional nodes from the menu that pops up.
Want To See More?
Check out this video tutorial of the Mobazha setup process which is a bit older but still shows a lot of the basics in action:
Talk To Us!
We hope this guide was helpful for getting started using Mobazha. Please let us know what you think in our Slack and let us know any additional questions that you may have that would make this even easier for you!
Do you want to help build this with us?
Download Mobazha right now to start buying or selling in minutes or just see what's for sale at Mobazha.info.

